
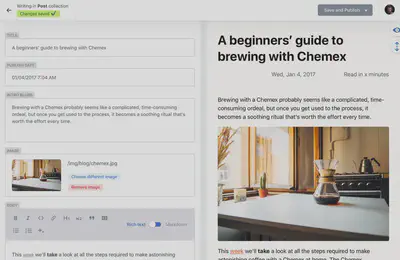
With Hugo CMS you can easily edit your site in a rich online editor in your browser. Write on the go (or your sofa) on your tablet or mobile. The CMS is free and open source, based on the Netlify CMS project.
1. Enable the CMS integration
If you just created a new site with the Academic template, you can skip this step as the module is enabled by default.
For other templates or older sites, browse your GitHub project to check that the CMS module is added to your config/_default/config.yaml:
# In your `config.yaml` is a Module section:
module:
  imports:
    # Add the Netlify CMS module below, if it has not already been added:
    - path: github.com/wowchemy/wowchemy-hugo-themes/modules/wowchemy-plugin-netlify-cms
    - path: github.com/wowchemy/wowchemy-hugo-themes/modules/wowchemy-plugin-netlify
    - path: github.com/wowchemy/wowchemy-hugo-themes/modules/wowchemy/v5
Then create a content/admin/index.md file containing:
---
# Generate the /admin/ page
type: wowchemycms
private: true
outputs:
  - wowchemycms_config
  - HTML
---
2. Enable Netlify Identity
- Login to Netlify and select your site
- Go to Settings > Identity, and select Enable Identity service
- Under Registration preferences, select Invite Only
- Scroll down to Services > Git Gateway, and click Enable Git Gateway
- This allows editors to write content without needing a GitHub account
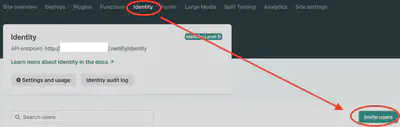
3. Invite editors
Head to the Identity tab at the top of the Netlify dashboard and then click the Invite Users button.
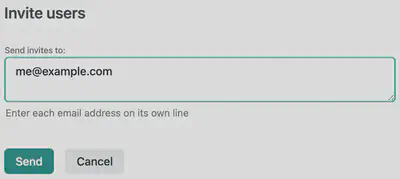
Invite yourself and any collaborators to become editors.
4. Login to the editor
Head over to YOUR_SITE.netlify.app/admin/ (or locally, to localhost:1313/admin/) to view your content management panel and begin publishing content, replacing YOUR_SITE with the subdomain assigned to you earlier in this guide (or your custom URL, in the form YOUR-URL.com/admin/).
For support with Netlify CMS admin panel, refer to the Netlify CMS docs and the very active Netlify CMS community.
Check out the Content and Elements guides to learn about all the different kinds of content we can create with Wowchemy.
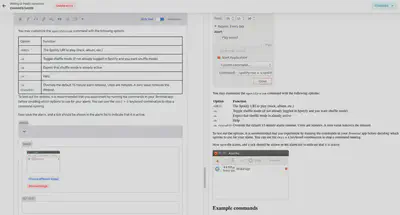
The preview window in the CMS provides an ultra-fast preview of Markdown content. To view the full page render (including styles and shortcodes) prior to publishing, we can use Netlify’s deploy previews or preview the site locally on our computer.
CMS Configuration
You can customize the CMS with a few options in params.yaml.
- branch: if your Git branch is not
main, set it here - local_backend: edit local files rather than remote GitHub files
- publish_mode: set to
"editorial_workflow"for a team-based review system
# Uncomment options below to use them.
extensions:
  cms:
     branch: main
#     publish_mode: editorial_workflow
#     local_backend: true
Uninstall CMS
If you prefer not to use the CMS, you can optionally disable it in config.yaml:
module:
  imports:
    - path: github.com/wowchemy/wowchemy-hugo-themes/modules/wowchemy-plugin-netlify-cms
      disable: true
    - path: github.com/wowchemy/wowchemy-hugo-themes/modules/wowchemy-plugin-netlify
    - path: github.com/wowchemy/wowchemy-hugo-themes/modules/wowchemy/v5
and then remove the content/admin/ folder so that Hugo does not attempt to load the CMS module.
Support this free, open source website builder
We’re full steam ahead on improving Wowchemy, and we need your help!
- ❤️ Become a backer on Patreon or GitHub and unlock these rewards and extra features
- ⭐️ Star Wowchemy on GitHub
- Share your new site with the community